Provisioning your application on Ideamart
Hi folks, This time we are going to discuss how to provision your application on Ideamart.
Type www.ideamart.dialog.lk on the browser and sign in to the portal using mobile connect. I’m going to create an application to find anyone you want within SL.
Figure 01
Let’s select IdeaPro from the home page.

Figure 02
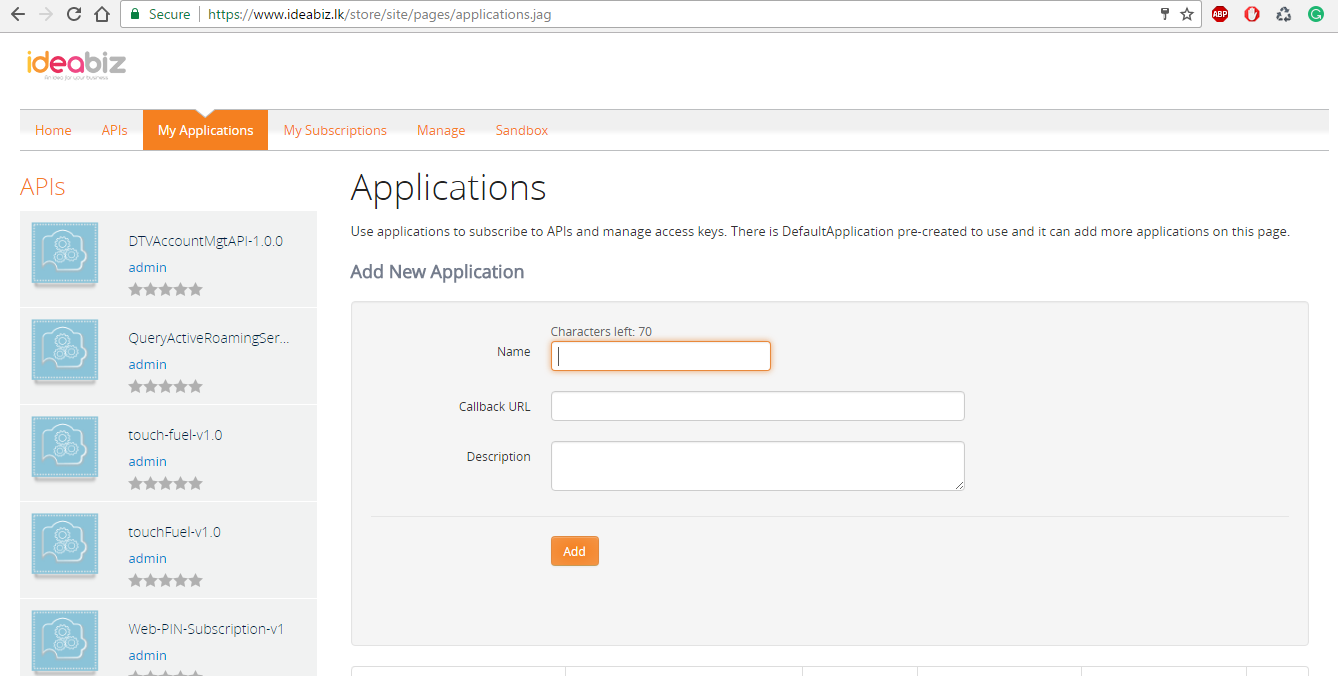
Now select create application.

Figure 03
Let’s fill these basic information.
1. Application Name:- Needs to be alphanumeric at least 4 entries, not more than 9 entries.
2. Application Description:- This helps ideamart team to approve your application. Write a short description here about the application.
3. Allowed IP addresses:- You need to fill the IP address of the server you are using to host the files. Since I’m using hosting space provided by ideamart, I get the IP by pinging to the server

Figure 04
(If the anyone needs to request hosting space from ideamart, send the below mentioned details to devsupport@ideamart.lk)
Name, Contact Number, Email, Programming Language, Database needed: Yes/No, Database name
Back to the subject :D
4. Whitelisted user:- Once you got the approval for the application, 1st stage it is activated for limited production. Which allows the whitelisted users to use the application before you go live. Simply it’s for testing purposes. When entering the number, use this format as well: 9477XXXXXXX
5. Blacklisted user:- Added number will not be able to use the application.
6. Revenue share percentage:- This will be 70(Developer / Service Provider):30(Ideamart)
7. Production Start Time:- The time you need to start the production.
8. Production Expiration Time:- The time you need to expire the application.
Then select the relevant APIs, Since I need to create my tracking application I choose LBS, SMS and subscription APIs and hit the next button. Let’s configure the APIs
Starts from the subscription API:

1. Maximum messages per day: Maximum number of message you can send using this API perday. Can be increased. :)
Figure 05
2. Subscription Response Message: When get registered to the service, a message will be sending to the user with the mask called: “ideamart”. This text will append to the message.
3. Unsubscription Response Message: When user get unregistered from the service, a message will be sending with the mask called: “ideamart”. This text will append to that message.
4. Charging type: Can be flat/free. Flat charging again divided into two paths called Monthly and Daily.
5. Charging Amount: Currency is LKR
6. Subscription Notification URL: When user get registered, you will get a JSON object to notify a user has been registered. Developer can get relevant data(Eg: MSISDN) and store in the database.
In my application, I’m going to generate a PIN ID for each user. When someone needs to find your location, they can use the PIN ID and request for the location. Also when user get registered I want to send the instructions on how to use the application. For these purposes I used the subscription URL here.
Let’s configure the SMS API:

Figure 06
2. Keyword: Keyword is to identify your application in the pool. When user registered/ communicate with the app, this keyword comes to the party.
Eg: When registering to the service, type REG(space)find and send to 77104
3. Message receiving URL: This URL will be useful when user communicate with the application.
Eg: When using the application, assume I want to find your location(Both need to registered).
To this purpose you need to communicate with the application.
4. Default Sender Address: You can use above mentioned 77104 number or a word. I’m using“WhereYou”
5. Alias: If you want, keep this field empty, When sending the SMS you can assign the alias in the JSON object. But here I’m using the default address.
6. Delivery Report URL: To receive the delivery reports.
Eg: Assume you create an app to send lottery results daily. Usually you send the results early in the morning. But if user doesn’t have sufficient balance in the mobile, he will not be able to get the message. Which means message delivery state will be failed. These type of data can be grabbed using this URL.
You can select whether user needs to be subscribed or not, to use the service by clicking the last check box.
Let’s configure the LBS API:

Figure 07
- Response Time: Accepted delay for the responses are defined here. I’m using no-delay which has the highest-precedence.
- Horizontal Accuracy: Accuracy for the location update. 0-100 is the minimum and it has the highest precedence.
- Freshness of the location: Freshness for the location update. HIGH_LOW has the highest precedence.
Yes we are done! Let’s save the data and request for the approval. :)


Comments
Post a Comment